Physical Address
304 North Cardinal St.
Dorchester Center, MA 02124
Physical Address
304 North Cardinal St.
Dorchester Center, MA 02124

The French manicure remains a beauty icon due to its harmonious blend of elegance and simplicity. Its clean, understated design—typically a pale tip against a neutral base—offers a polished look that transcends fleeting trends. This classic style is celebrated for its versatility, effortlessly transitioning from casual daytime wear to formal events. Unlike bold nail art, the French manicure’s minimalism flatters all skin tones and ages, making it a universal choice. Its enduring popularity also stems from its practicality: the design hides nail imperfections while demanding minimal upkeep. Whether painted in soft pinks, nudes, or even monochromatic tones, it serves as a canvas for subtle creativity, such as gradients or delicate accents. Professionals favor it for its professional demeanor, while celebrities adopt it to maintain a timeless glamour. Above all, the French manicure’s adaptability ensures it stays relevant, proving that true classics never fade—they simply evolve.
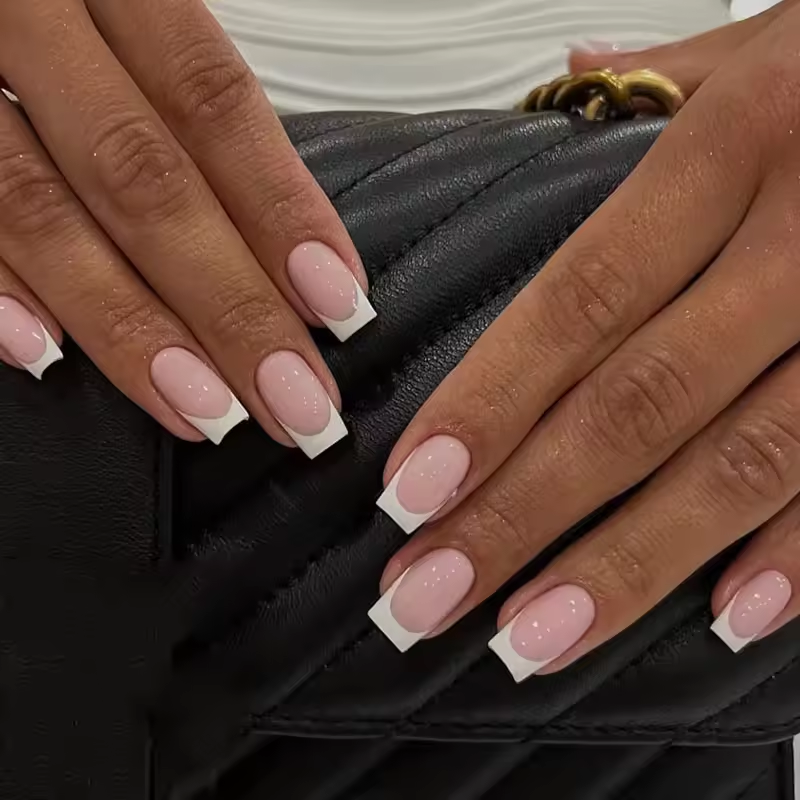
The French manicure’s origins date back to 18th-century Europe, where aristocrats used pale pink and white polish to mimic natural nails, symbolizing cleanliness and wealth. This aesthetic evolved in the 1920s when Hollywood stars like Greta Garbo adopted the style to achieve a youthful, radiant appearance onscreen. However, the modern French manicure was born in 1950s California. A nail technician, inspired by the crisp white tips of ballet dancers’ toe shoes, reversed the color scheme—using white tips on a nude base—to create a polished yet natural look. The design gained traction in the 1970s when Farah Fawcett’s “Charlie’s Angels” manicure popularized it as a symbol of glamour.
By the 1980s, it became a mainstream beauty staple, embraced by professionals and celebrities alike. Its name, ironically, has little to do with France; it was coined in the U.S. to evoke sophistication. Over time, the style adapted to trends: gradients, metallic accents, and even monochromatic hues emerged, yet the core formula endured. Today, the French manicure balances heritage with modernity, celebrated for its timeless elegance. Its journey—from royal courts to Hollywood, ballet stages to high-fashion runways—cements it as a transformative beauty milestone that continues to evolve without losing its classic charm.
The French manicure’s clean white-tip-on-neutral design balances sophistication and minimalism. Its origins trace back to 18th-century aristocracy, yet it remains relevant today because it mimics natural nails—flattering all skin tones and ages. This classic formula never feels outdated.
Its neutral base (nude, soft pink) transitions effortlessly from business meetings (pair with matte finish) to weddings (add subtle rhinestones). Experiment with gradients or metallic accents for creativity without sacrificing professionalism.
Chips hide well in the design’s simplicity. A quick dotting tool touch-up repairs minor damage, and a clear top coat extends longevity. Unlike bold colors, it requires minimal upkeep—ideal for busy lifestyles.
In corporate settings, the French manicure projects competence without distraction. The “polished but not flashy” vibe aligns with boardroom aesthetics, making it a go-to for interviews or presentations.
It transcends trends and borders: celebrated in Parisian salons, Tokyo’s nail bars, and New York’s runways. Its adaptability to global beauty norms ensures it stays a cross-cultural staple.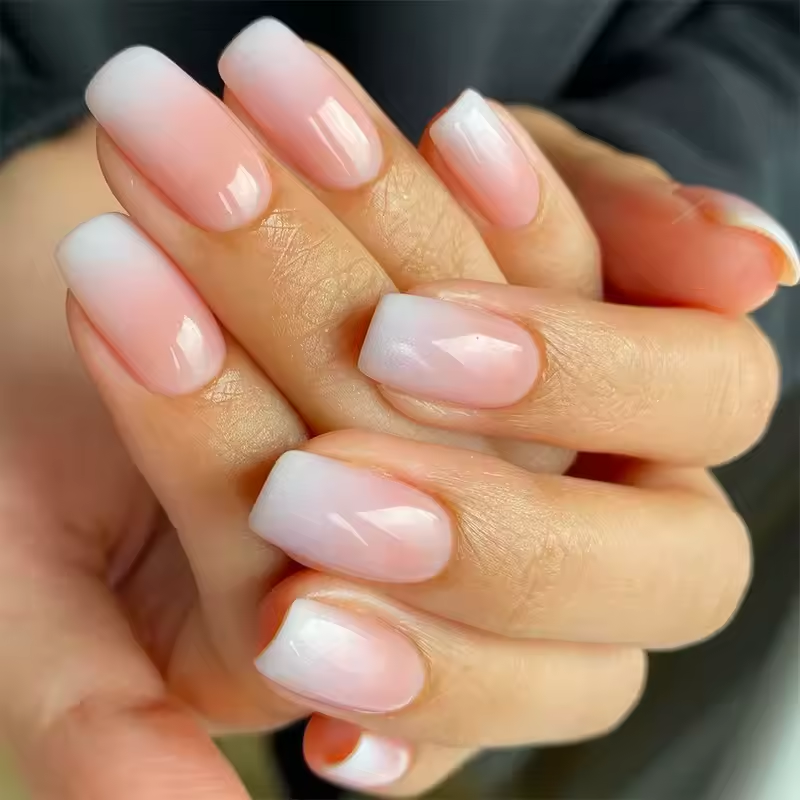
Achieving a professional-quality French manicure at home requires precision and patience. Follow these steps for a crisp, salon-worthy finish:
1. Prep Your Nails
Begin by trimming and filing your nails into your desired shape. Buff the surface lightly with a fine-grit buffer to enhance polish adhesion. Push back cuticles gently with an orangewood stick and apply cuticle oil.
2. Apply the Base Color
Choose a neutral shade—soft pink, beige, or nude—that complements your skin tone. Paint two thin, even coats, allowing each layer to dry completely. Thick coats risk smudging; opt for steady, smooth strokes instead.
3. Paint the Tip
This step demands focus. For a classic design, use a fine-tipped brush or a striping tool to paint the tip in white or a pale shade matching your base. Alternatively, use tape for a straight edge: place it along the nail’s tip, paint white over it, then peel off carefully.
4. Seal with a Top Coat
Apply a clear top coat to seal the design and add shine. A quick-dry formula reduces smudging. For extra durability, use gel top coats or UV-cured polish.
Common Mistakes to Avoid
Pro Tips
With practice, the French manicure becomes a go-to skill, offering a polished finish that’s as easy to maintain as it is elegant.
Flip tradition by painting the base in a bold hue—think deep emerald or wine—and contrast it with a crisp white or metallic tip. This inversion adds drama while retaining the French manicure’s elegance, perfect for evening events or statement looks.
Create a seamless color transition from the cuticle to the tip. Try a soft blush gradient fading into sheer white for a romantic vibe, or opt for a darker palette like charcoal-to-silver for an edgy touch. Gradient French tips work wonders for weddings or seasonal transitions.
Add subtle sparkle by outlining the tip with gold, rose gold, or platinum liquid liner. For a futuristic vibe, use holographic polish on the tip, or press tiny foil squares along the edge for a modern, textured effect.
Customize your design with seasonal colors:
Break the monotony with tiny geometric patterns. Draw a triangle or diamond shape at the tip using black or glitter polish, or create a polka-dot border along the sides. For a sleek look, etch thin stripes or chevrons using a precision brush.
These designs prove the French manicure is far from basic—it’s a blank canvas for creativity. Whether you prefer understated flair or bold innovation, these ideas let you experiment while keeping the timeless polish that defines this iconic style.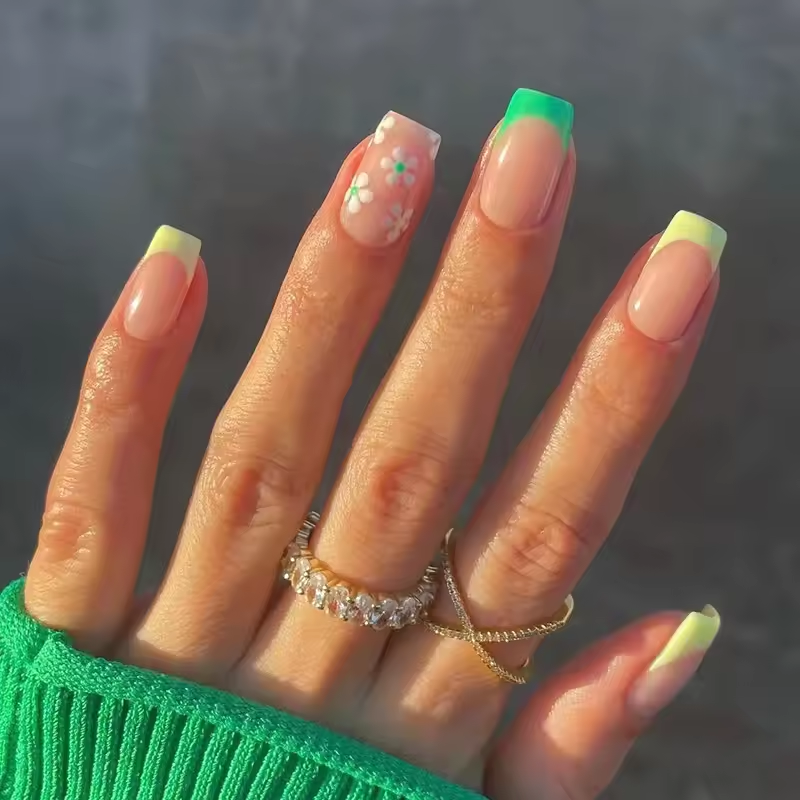
Opt for gel-based or hybrid polishes for unmatched durability. These formulas adhere tightly to nails, resisting chips even with daily wear. Avoid drugstore acrylics, which often contain harsh chemicals that weaken nails. For a natural look, choose neutral shades with a “naked” pigment to mimic skin tone.
A poor-quality brush ruins even the best polish. Use angled, synthetic-bristle brushes (like those in CND Stickey Brushes) for clean lines and control. For the iconic white tip, a striping brush ensures crisp edges without smudging. Avoid brushes with shedding bristles, which leave fibers on nails.
A base coat acts as a protective barrier. Choose one with UV filters to prevent yellowing, especially with gel polishes. Those with calcium or vitamins strengthen nails, reducing lifting. Always apply it before your neutral base color.
A quick-dry top coat locks in polish and adds shine. For extra durability, layer a gel-like top coat over regular polish. Avoid thick, goopy formulas—they slow drying and attract dust.
A cuticle pusher (orange stick) and metal nail file (180-grit) prep nails for smooth application. Use transfer tape to achieve razor-sharp tips effortlessly. A UV/LED lamp (if using gel polish) ensures proper curing—skimping on this step leads to premature peeling.
Carry a travel-sized touch-up kit with matching polish, a mini brush, and a top coat. For removal, use acetone-free removers to protect nails. Avoid soaking hands in water for long periods; wear gloves for chores.
By prioritizing quality tools, protective formulas, and proper application techniques, your French manicure will stay intact for 7–10 days—perfect for special events or busy weeks. The right products turn a DIY effort into salon-level longevity.
Carry a travel-sized kit with:
With these strategies, your French manicure can last 7–10 days. The key is proactive care—address minor chips early and prioritize nail health over quick fixes. A little maintenance goes a long way in preserving that salon-ready glow!
Stick to neutral shades (soft pink, beige) for corporate environments. A minimalist design with a glossy finish projects competence without distraction. Avoid embellishments—clean lines are key.
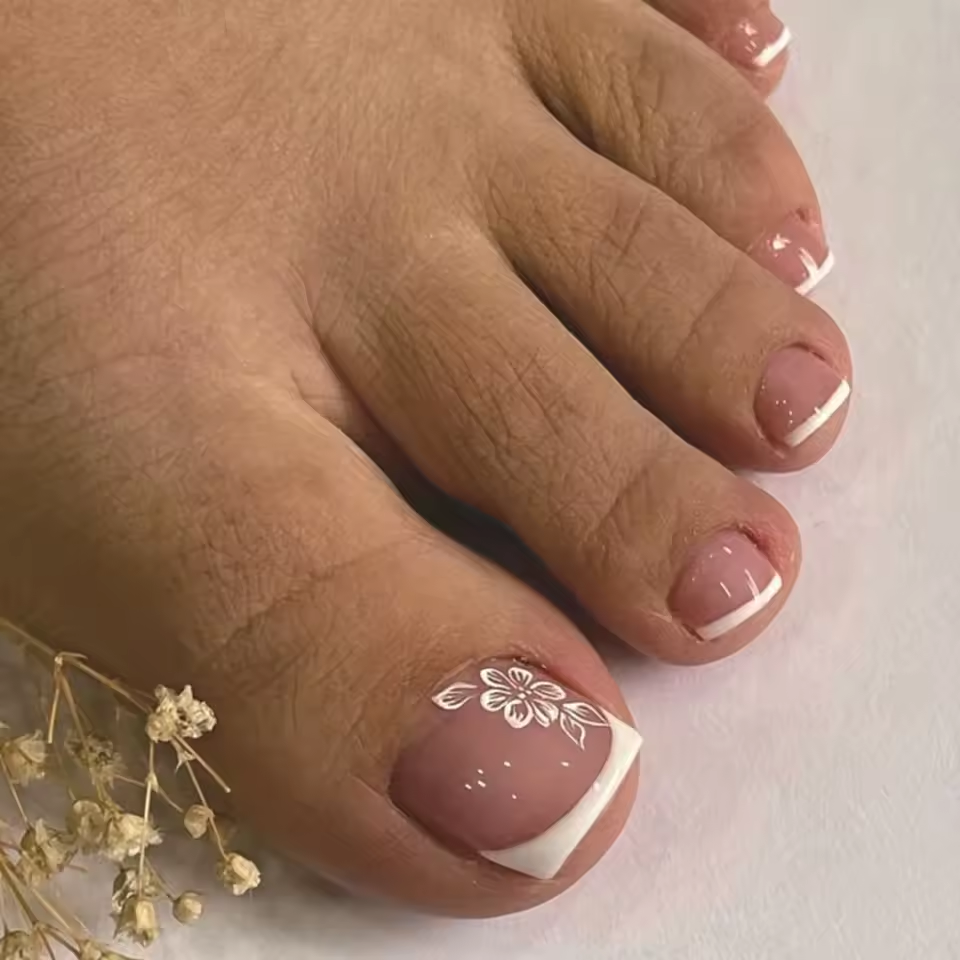
Opt for crisp white tips on a nude base for elegance. Add subtle sparkle with holographic top coats or a single rhinestone at the tip. For bridal parties, match the manicure to the event’s color scheme.
Go bold with pastel gradients or light glitter accents. Pair a coral-tipped French manicure with summer dresses, or try a matte white tip for a modern, low-key look.
Add a touch of glamour with metallic tips (gold, rose gold) or a sheer lavender base. For a romantic dinner, use a shimmering top coat to catch the light.