Physical Address
304 North Cardinal St.
Dorchester Center, MA 02124
Physical Address
304 North Cardinal St.
Dorchester Center, MA 02124
Nail art doesn’t require professional skills. Anyone can create beautiful designs at home. This guide explores seven easy nail designs. Transform your nails with minimal effort. Get ready to unleash your creativity.
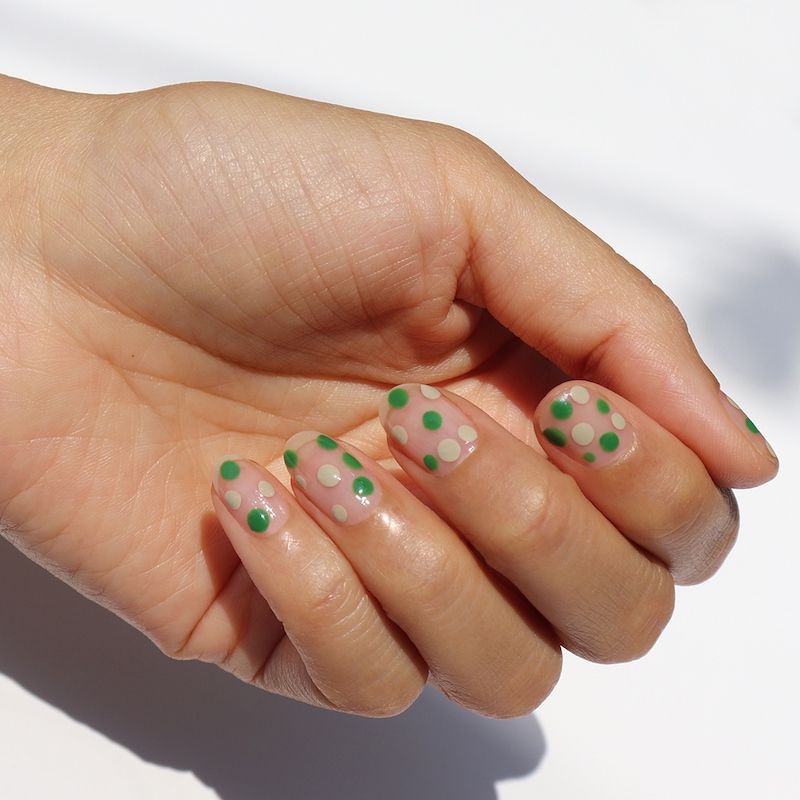
Polka dots never go out of style. This design works on any nail length or shape. Start with a light base color. White or pastels work best. Let it dry completely. Use a dotting tool or bobby pin for the dots. Dip the tool in contrasting polish. Press gently onto the nail to create circles. Experiment with different dot sizes and patterns. Try random scatters or neat rows. Use multiple colors for variety. Finish with a clear top coat. Polka dots offer endless possibilities. They suit any occasion.
Create a gradient effect with dot sizes. Start with larger dots at the base. Decrease size towards the tip. This creates depth and interest. Alternate colors for a rainbow effect. Use metallic polish for glamorous dots. Try matte and glossy combinations for texture. Polka dots work well as accent nails. Pair with solid colors on other nails. The versatility of this design makes it a go-to choice.
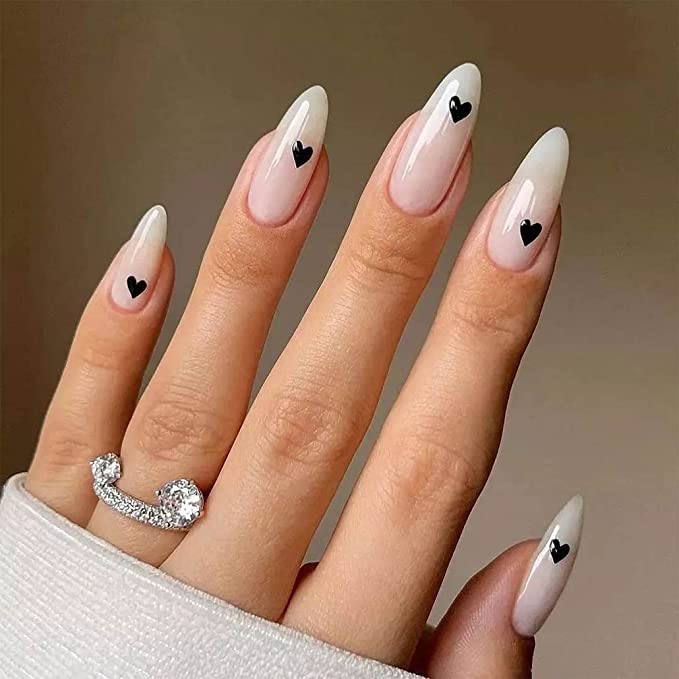
Placement matters in polka dot designs. Concentrate dots at the base for a confetti look. Create a diagonal pattern for a modern twist. Frame the nail with a border of dots. This technique works well on square or coffin-shaped nails. For a minimalist approach, place single dots strategically. One dot at the base of each nail creates a subtle, cohesive look. Polka dots allow for personal expression. Let creativity guide the design.
Ombre nails create a beautiful gradient effect. Choose two complementary colors. Apply the lighter shade as a base. Let it dry fully. Use a makeup sponge for blending. Paint a stripe of the darker color on the sponge. Dab onto the nail, starting at the tip. Blend upwards gradually. Repeat until the desired effect is achieved. Clean excess polish around edges. Seal with a top coat.
Experiment with color combinations. Try pastels for a subtle look. Use bold hues for drama. Metallic and matte combinations create interesting textures. Vertical ombre works well on long nails. Horizontal ombre suits all nail lengths. For a twist, try diagonal ombre. This technique elongates the nails visually.
Ombre nails suit various occasions. They look sophisticated for formal events. Bright color combinations work for casual settings. Try nude to white ombre for a classic French manicure effect. Add glitter to the tips for extra sparkle. Ombre designs complement different nail shapes. They look particularly striking on almond or stiletto nails. The gradient effect adds dimension to the nail.
Striped nails offer a clean, graphic look. Begin with a base color of choice. Allow it to dry completely. Use striping tape or thin strips of regular tape. Place on the nail in desired patterns. Apply a contrasting color over the entire nail. Remove tape carefully while polish is wet. This reveals crisp, clean lines. Finish with a top coat.
Vary stripe widths for interest. Combine thin and thick lines. Try vertical stripes to elongate nails. Horizontal stripes create width. Diagonal lines add dynamic flair. Create chevron patterns for a trendy look. Mix stripe directions on different nails. This creates a cohesive yet varied design.
Striped nails suit both casual and professional settings. Use neutral colors for work-appropriate designs. Bold color combinations make a statement for social events. Metallic stripes add elegance to any look. Try negative space stripes for a modern twist. Leave parts of the nail unpainted between stripes. This technique creates unique, eye-catching designs.
Glitter accent nails add instant glamour. Choose one or two nails on each hand for accents. Apply a neutral base coat. Let it dry fully. Use glitter polish on accent nails. Apply multiple coats for maximum sparkle. Paint remaining nails in a complementary solid color. Seal all nails with a top coat.
Experiment with glitter types and colors. Fine glitter creates a subtle shimmer. Chunky glitter makes a bold statement. Try ombre glitter effects. Apply more glitter at the tips, fading towards the base. Mix glitter colors for a unique look. Use glitter as a topcoat over other designs. This adds dimension to stripes or polka dots.
Glitter accents work for any occasion. They add flair to everyday looks. Perfect for parties and celebrations. Try gold or silver glitter for a sophisticated touch. Pastel glitters create a soft, romantic feel. Bold, multicolored glitters suit festive events. Glitter accent nails balance simplicity and glamour. They allow for creativity without overwhelming the entire manicure.
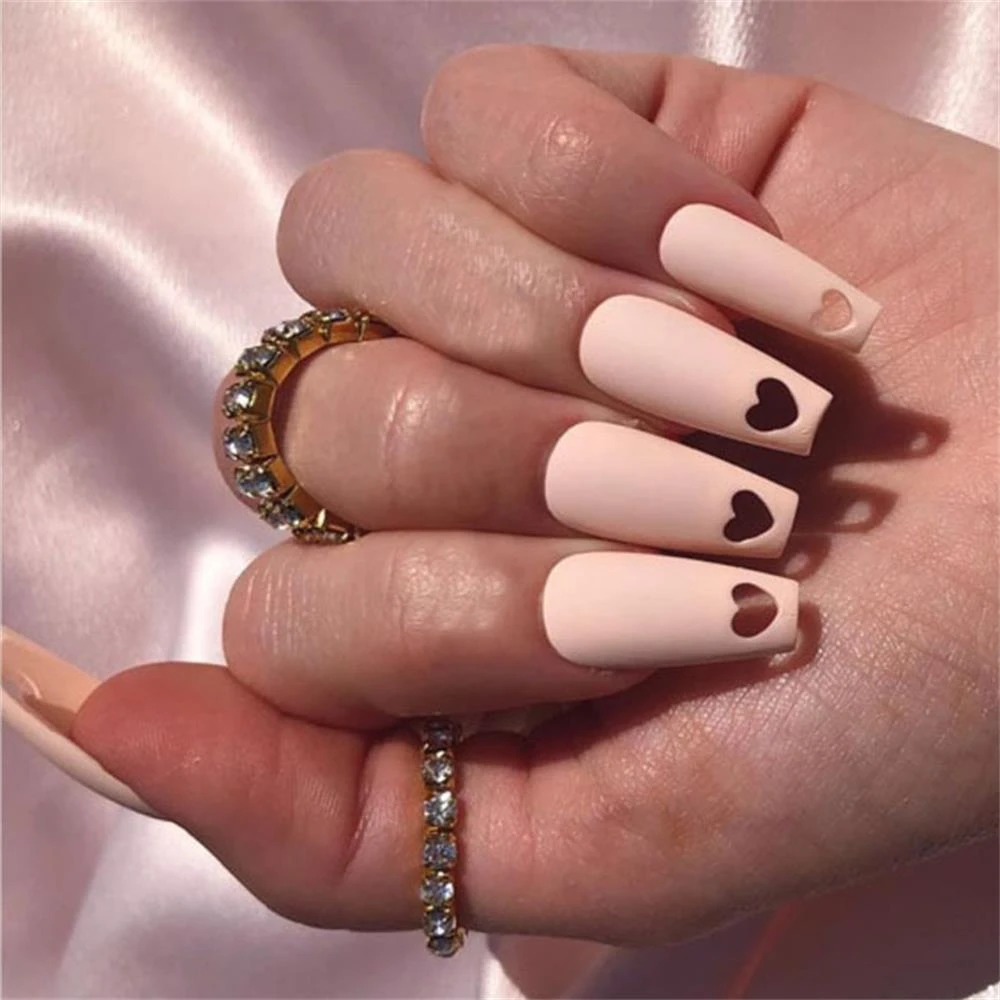
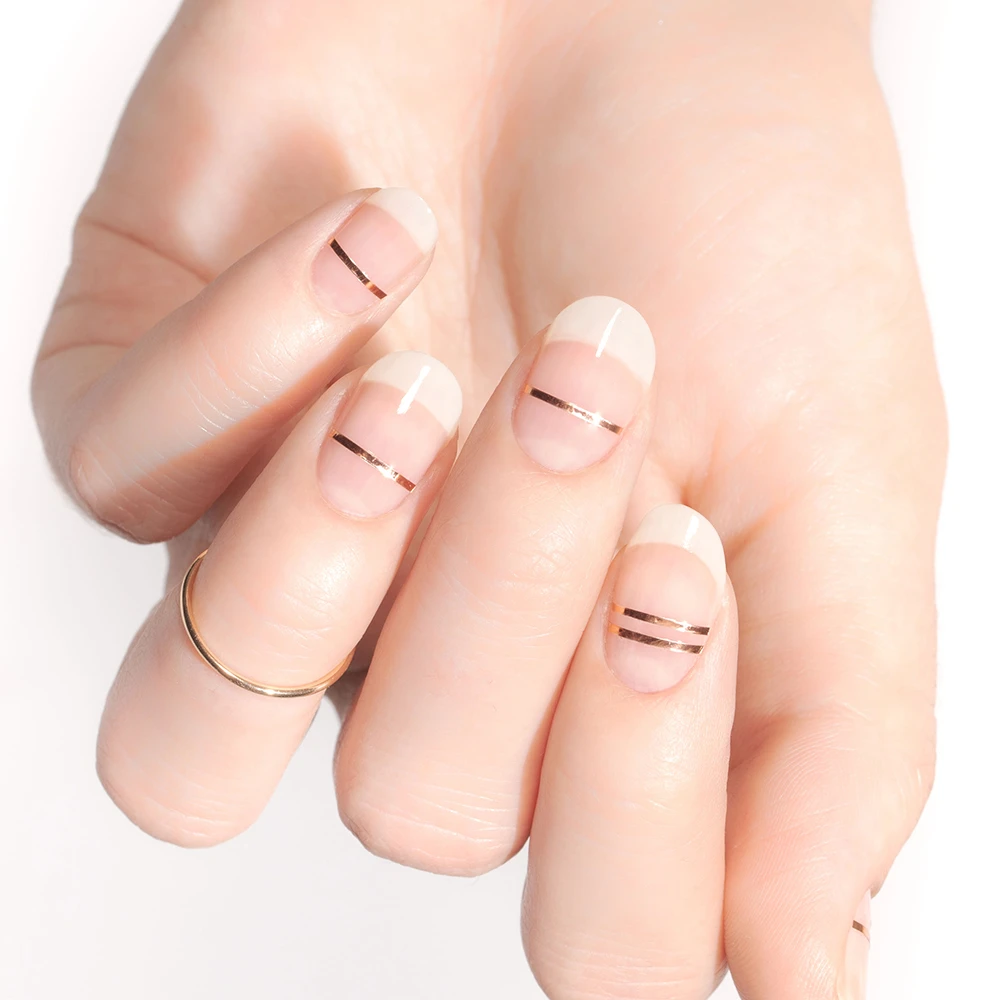
Negative space nail art is trendy and chic. It uses unpainted areas as part of the design. Start with clean, buffed nails. Apply base coat only where the design will be. Use tape or stencils to create shapes. Paint over exposed areas. Remove tape or stencils carefully. Unpainted parts become part of the design. Seal with a clear top coat.
Geometric shapes work well for negative space designs. Try triangles, crescents, or straight lines. Create abstract patterns for artistic flair. Combine negative space with other techniques. Try polka dots or stripes in negative space areas. This adds complexity to the design. Use metallic polish for a luxurious look. The contrast with bare nail creates visual interest.
Negative space designs suit minimalist styles. They look sophisticated and unique. Perfect for those who prefer understated elegance. These designs work on any nail length. They’re particularly striking on longer nails. Negative space art allows natural nail health to shine through. It’s an excellent option for those avoiding full nail coverage.
Marble nails create a luxurious, high-end look. Start with a white or light-colored base. Let it dry completely. Drop small amounts of different colored polishes onto the nail. Use a toothpick or thin brush to swirl colors together. Don’t over-mix; subtle blending is key. Clean excess around edges. Seal with a glossy top coat for shine.
Experiment with color combinations. Classic white and gray mimic traditional marble. Blues and greens create a malachite effect. Add gold accents for extra luxury. Marble effects work on all nail shapes. They look particularly elegant on oval or almond nails. Try marble on accent nails. Pair with solid colors for a balanced look.
Marble nails suit special occasions. They add sophistication to any outfit. For everyday wear, try subtle color combinations. Pastel marbling creates a soft, romantic look. Bold colors make a statement. Marble effects pair well with minimalist jewelry. They become a focal point of hand aesthetics. This technique looks complex but is surprisingly easy to master with practice.
French tips are a classic nail design. They can be updated for modern tastes. Start with a neutral base color. Let it dry fully. Use nail guides or freehand a line across the tip. Paint the tip in a contrasting color. Remove guides while polish is wet. Seal with a top coat. Experiment with tip colors and shapes.
Try V-shaped tips for a unique look. Use diagonal lines to create asymmetry. Add glitter or metallic polish to tips for flair. Reverse French tips place the accent at the base. This creates an unexpected twist. Ombre French tips blend colors for a soft effect. Double French tips use two colors for added interest.
French tip variations suit any nail length. They work for both casual and formal settings. Use bold colors for a modern take on the classic. Pastel tips create a soft, romantic look. Metallic tips add glamour to any outfit. These designs maintain elegance with a contemporary edge. They’re perfect for those who appreciate tradition with a twist.
Nail art allows for personal expression. It’s a way to showcase creativity daily. The designs in this guide serve as starting points. Use them as inspiration for unique looks. With practice, nails become miniature canvases. They reflect individual style and personality.
Remember to care for nails between designs. Keep them clean and moisturized. Use a base coat to prevent staining. Apply thin layers of polish for best results. Always finish with a top coat. This protects the design and adds shine. Regular maintenance ensures a perfect canvas for future art.
Social media offers endless inspiration for nail designs. Follow nail artists on Instagram or Pinterest. Save designs for future reference. Watch tutorials on YouTube to learn new techniques. Join online nail art communities for support and ideas. Sharing creations can provide valuable feedback and encouragement.
Explore beyond traditional nail polish. Try gel polish or nail wraps for longer-lasting results. These often come in a wide range of designs. Some require special equipment or removal processes. Research different options to find what works best. The world of nail art continually evolves with new products and techniques.
Nail art suits all ages and styles. It’s a form of self-care and creativity. Whether preferring bold and bright or subtle and sophisticated, there’s a nail design for everyone. The techniques in this guide adapt to personal preferences. They serve as a foundation for endless creativity. With practice, anyone can create stunning nail art at home.