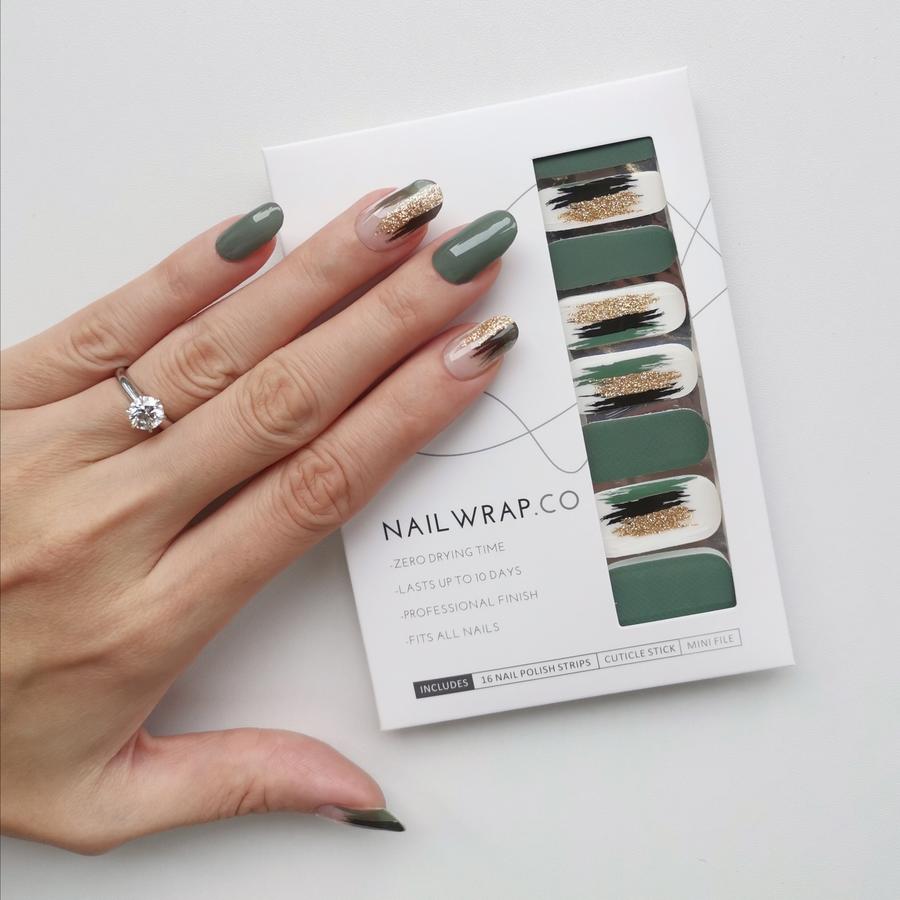
What Are Nail Wraps?
Nail wraps are an innovative way to decorate your nails without traditional polish. They are thin, adhesive materials designed to stick directly to nails, offering instant designs and patterns. Easy to apply and remove, nail wraps create salon-quality results at home.
Definition and Types of Nail Wraps
Nail wraps come in various materials and styles to suit different needs. Common types include:
- Vinyl Nail Wraps: Known for vibrant colors and designs. They are durable and versatile.
- Gel Nail Wraps: These offer a glossy and professional finish. They’re slightly thicker and flexible.
- Silk Nail Wraps: Ideal for repairing or strengthening damaged nails. Often clear or neutral in appearance.
- Fiberglass Nail Wraps: Used for reinforcement, offering extra strength to weak nails.
Each type has unique features to cater to various preferences and occasions.
Benefits of Using Nail Wraps Compared to Traditional Manicures
Nail wraps offer multiple advantages that set them apart from conventional methods:
- Quick Application: With nail wraps, you can achieve perfect nails in minutes.
- No Drying Time: Unlike polish, nail wraps eliminate waiting for nails to dry.
- Versatile Designs: Endless styles and patterns for every event or mood.
- Durable and Chip-Free: Nail wraps resist chipping and last longer than regular polish.
- Budget-Friendly: Affordable and cost-effective compared to regular salon visits.
- Gentle on Nails: Nail wraps don’t require harsh chemicals or tools for application.
These benefits make nail wraps a convenient and stylish option for nail care.
Tools You Need for Applying Nail Wrap
To achieve a flawless look, having the right tools is essential. Proper tools simplify the application process and improve results. Below, we outline both essential and optional tools for successful nail wrap application.
Essential Tools for a Seamless Application
- Nail File: Smooth and shape your nails before applying the wraps.
- Cuticle Pusher: Push back cuticles to create a clean nail surface.
- Nail Buffer: Buff nails gently for an even surface.
- Alcohol Wipes: Clean nails to remove oils and dirt.
- Tweezers: Handle nail wraps precisely during application.
Having these essential tools helps ensure your nail wraps stick perfectly and last longer.
Optional Tools for Professional Results
- UV LED Lamp: Use this to cure gel nail wrap for extra durability.
- Scissors: Trim wraps for a custom fit on smaller nails.
- Apron or Rubber Mat: Protect surfaces from drops or spills during application.
- Fine-Tip Brush: Apply adhesive or extra sealant if needed.
- Topcoat: Seal designs and add extra shine.
Optional tools provide a salon-level finish and enhance the overall experience of applying nail wraps.
Preparing Your Nails for Nail Wrap
Before applying nail wraps, proper nail preparation ensures a smooth application and long-lasting results. Clean, shaped, and prepped nails are key to achieving a flawless finish.
Cleaning and Shaping Your Nails
- Remove Old Polish: Use a gentle nail polish remover to clean any leftover polish.
- Wash Your Hands Thoroughly: Remove oils, dirt, and debris from your nails with soap and water.
- Trim and Shape: Use nail clippers and a file to create the desired nail shape.
- Buff Lightly: Buff the nail surface with a nail buffer to remove ridges and smoothen it.
- Push Back Cuticles: Use a cuticle pusher to gently push back overgrown cuticles.
- Sanitize with Alcohol Wipes: Wipe nails with alcohol wipes to remove residual oils and create a clean surface.
Proper cleaning and shaping are vital for achieving a professional look and ensuring the wraps adhere correctly.
Importance of a Good Base for Nail Wraps
- Smooth Surface: Uneven nails can lead to bubbles and creases in the wraps.
- Oil-Free Nails: Oils can weaken the adhesive, causing wraps to peel prematurely.
- Improved Adhesion: A clean base ensures wraps stick firmly and last longer.
- Prevents Damage: Prepping avoids issues like lifting or cracking of wraps over time.
Taking the time to prepare your nails ensures the wraps stick better, look smoother, and last longer.
Step-By-Step Guide to Applying Nail Wrap
Applying nail wraps like a pro involves precision and care. With the right techniques, you’ll unlock stunning results that last. Follow this simple guide to achieve a flawless application.
How to Choose the Right Size Wrap for Each Nail
- Match Wrap Width to Nail: Select wraps closest to your nail width for a snug fit.
- Trim Larger Wraps: Overlapping wraps can lead to peeling; trim excess for proper alignment.
- Experiment with Sizes: Test sizes before peeling the adhesive backing to get the perfect fit.
- Prepare Small Pieces for Toes: Smaller areas, like toes, may require further trimming for a perfect size.
Choosing the right size ensures your nail wraps look polished and stay intact longer.
The Application Process: Tips and Techniques
- Peel Wraps Carefully: Use tweezers to avoid stretching or distorting the design.
- Align with Cuticle Edge: Place the wrap starting from the cuticle for a smooth fit across the nail.
- Press Firmly: Flatten the wrap evenly to remove air bubbles and creases.
- Stretch Gently: For curved nails, lightly stretch wraps for better coverage.
- Seal Edges: Press edges firmly to secure the wrap and prevent lifting over time.
Proper technique ensures nail wraps adhere seamlessly, avoiding damage or peeling.
Trimming and Filing for a Perfect Fit
- Trim Excess Carefully: Cut off any wrap extending beyond your nail tip with sharp scissors.
- File Downward: Use a nail file to trim wraps by filing in a downward motion.
- Fine-Tune Edges: Smooth corners and edges to ensure a professional finish.
- Check Alignment: Ensure wraps stay centered and balanced after filing.
Trimming and filing help to achieve a salon-quality look at home.

Pro Tips for Long-Lasting Nail Wrap
Achieving long-lasting nail wrap requires attention to detail and proper care. Follow these expert tips to ensure your nail wraps remain flawless for days.
How to Seal Your Nail Wraps
- Apply a Topcoat: Seal nail wrap with a clear topcoat for added shine and durability.
- Press Down Edges: Use your fingers or a cuticle pusher to secure edges firmly.
- Use Heat for Gel Wraps: Warm gel wraps gently with a UV LED lamp for better adhesion.
- Avoid Water for 24 Hours: Let the adhesive set by keeping nails dry after application.
- Reapply Topcoat Periodically: Refresh the seal every few days for extended wear and protection.
Sealing nail wraps improves their longevity and resists potential damage.
Common Mistakes to Avoid
- Skipping Nail Prep: Dirty nails can cause wraps to lift or peel prematurely.
- Overlapping Edges: Improper sizing increases peeling risks; trim wraps for accurate fit.
- Using Weak Adhesive Wraps: Low-quality wraps won’t last long; opt for reliable brands.
- Applying on Wet Nails: Ensure nails are completely dry before applying wraps.
- Exposing to Harsh Chemicals: Avoid acetone or strong cleansers to prevent wraps from deteriorating.
Avoiding these pitfalls ensures smoother application and better results every time.
Methods to Extend the Life of Your Nail Wrap
- Be Gentle with Hands: Avoid scraping or rough activities that put pressure on nail wrap.
- Wear Gloves for Chores: Protect your wraps when cleaning or handling water.
- Reinforce Edges: Apply clear polish to edges to prevent lifting over time.
- Avoid Hot Water: Soaking nails in hot water can weaken the wrap adhesive.
- Touch Up Worn Areas: Fix small chips or peeling spots with adhesive or extra wrap pieces.
Following these tips can keep your nail wraps beautiful and intact for an extended period.
How to Remove Nail Wrap Safely
Removing nail wraps correctly is crucial to avoid damaging your nails. Improper removal can lead to weakened nails or irritation. Follow these simple steps for a safe and hassle-free process.
Techniques for Damage-Free Removal
- Soak in Warm Water: Place your hands in a bowl of warm water for 10-15 minutes to loosen the adhesive.
- Use Gentle Peeling: Start peeling the wrap from a corner while holding it flat against the nail surface.
- Apply Cuticle Oil: Rub cuticle oil near the edges to help dissolve remaining adhesive and nourish your nails.
- Use a Removal Stick: Use a wooden stick or soft tool to gently lift the wrap, avoiding excessive scraping.
- Avoid Tugging: If the wrap feels resistant, soak longer or add cuticle oil to avoid tearing your nail surface.
These techniques can protect your nails while ensuring the wrap comes off cleanly and easily.
Recommended Products for Nail Wrap Removal
- Acetone-Free Nail Polish Remover: This gentle formula dissolves adhesive without harming your nails.
- Cuticle Oil: Helps soften the wraps and nourish your nails simultaneously.
- Soaking Bowl: Use a small bowl to hold warm water for soaking nails.
- Wooden Cuticle Stick: Provides precise lifting without scratching your nail surface.
- Nail Buffer: Removes leftover adhesive gently for a smooth, clean finish.
Using the right products ensures an efficient and safe removal process, minimizing damage or irritation.

Popular Nail Wrap Designs and Trends
Nail wraps come in various designs to suit every taste, occasion, and personality. Staying on top of design trends can help you showcase your style effortlessly. Below, we explore some popular nail wrap designs and seasonal inspirations that are dominating the nail art world.
Top Nail Wrap Designs for Every Occasion
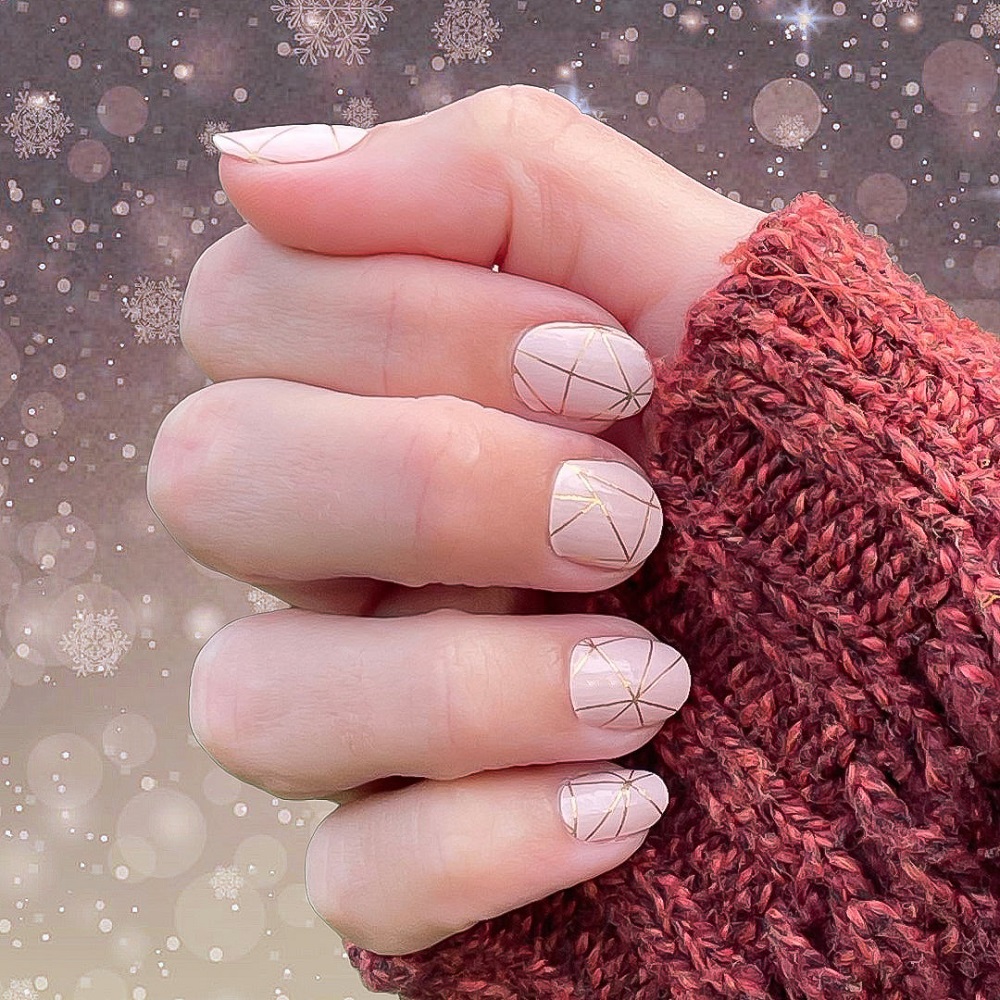
- Minimalist Designs: Simple geometric patterns and pastel colors work well for everyday wear.
- Metallic and Chrome Wraps: Perfect for nights out or glamorous events, these wraps exude sophistication.
- Floral and Botanical Prints: Ideal for outdoor weddings, brunches, or spring celebrations.
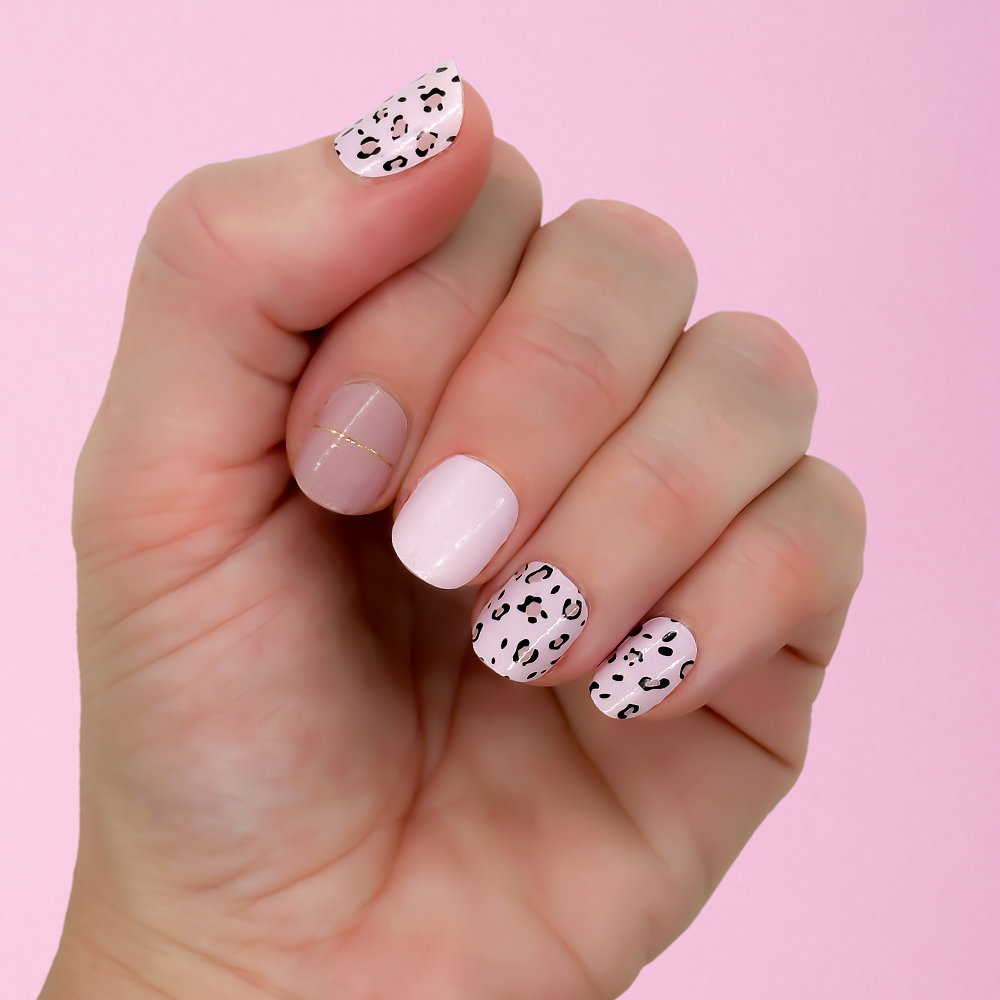
- Animal Prints: Leopard, snake, or zebra prints add playful elegance to your nails.
- French Tip Wraps: A timeless choice for professional or formal events.
- Customizable Designs: Some brands offer personalized nail wraps for truly one-of-a-kind looks.
These designs let you express your personality while ensuring your nails fit the occasion.
Seasonal and Fashion-Inspired Nail Wrap Ideas
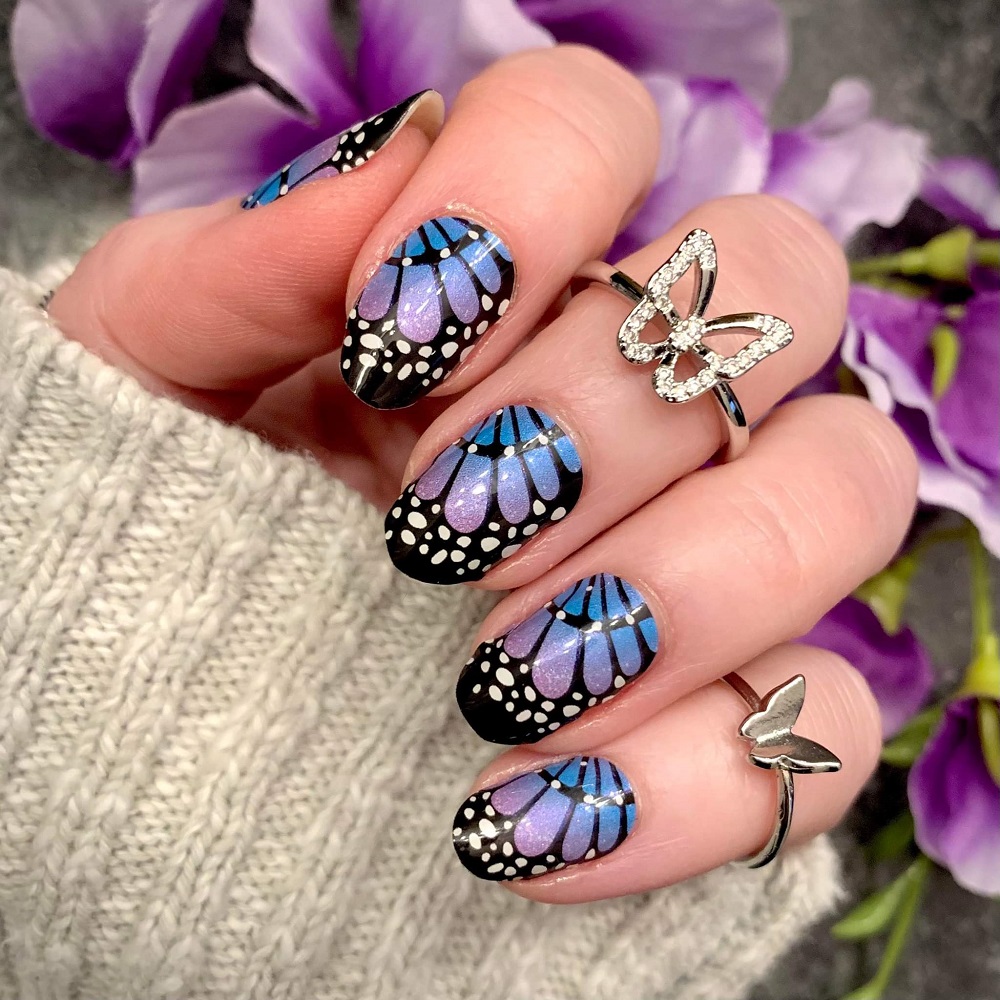
- Spring Designs: Think cherry blossoms, pastel hues, and butterfly accents.
- Summer Vibrancy: Bold colors, tropical patterns, and beach-inspired themes steal the spotlight.
- Autumn Warmth: Shades of red, orange, and gold with leaf patterns bring autumn vibes.
- Winter Elegance: Snowflakes, icy blues, and metallic silver wraps offer a festive touch.
- Holiday-Themed Wraps: Red and green for Christmas or spooky black and orange for Halloween.
- Runway-Inspired Styles: Keep an eye on fashion trends for designs that mimic high-fashion prints.
Seasonal and fashion-forward nail wrap keep your look fresh and timely. Whether you’re heading to an event or just spicing up your style, these trendy options can elevate your nails effortlessly.
FAQs About Nail Wrap
Addressing Common Questions and Concerns
Nail wraps are a popular choice for those seeking stylish nails with ease. However, beginners or even seasoned users might have questions about their use or maintenance. Here, we address some of the most common queries related to nail wrap for a smoother experience.
1. Can nail wrap damage natural nails?
No, nail wraps are gentle when used correctly. Proper removal prevents nail damage.
2. How long do nail wraps normally last?
Typically, nail wrap last 1-2 weeks, depending on usage and care.
3. Are nail wrap waterproof?
Yes, nail wraps are water-resistant. Avoid soaking in hot water to extend their life.
4. Can I apply nail wrap over nail polish?
Yes, but ensure the polish is fully dry to avoid trapping moisture.
5. Are nail wrap safe during pregnancy?
Nail wraps are non-toxic and usually safe, but always check the product description for chemicals.
6. Can I reuse nail wrap?
Nail wraps are typically single-use and lose their adhesive once applied and removed.
7. Do nail wrap work on very short nails?
Absolutely! Nail wrap can be trimmed to fit nails of any length.
8. Can men use nail wrap?
Yes! Nail wrap cater to all genders, with plenty of neutral or bold designs to suit preferences.
9. Is heat necessary for applying all nail wrap?
No, only some specific wraps require heat. Check the product instructions for details.
10. What makes nail wrap better than nail polish?
Nail wrap save time and offer chip-free designs that last longer without drying time.
This FAQ section aims to eliminate doubts and ensure you feel confident using nail wraps. Proper use and care can elevate your nail experience while avoiding common pitfalls.
Conclusion
Nail wraps are a fantastic option for those seeking stylish and convenient nail care solutions. They provide an excellent way to achieve beautiful nails without the expense and time associated with salon visits. Understanding the different types of wraps, application techniques, and care methods opens up a world of possibilities for enhancing your nail art experience.
With the right tips and techniques, you can achieve professional-looking results in the comfort of your home. Whether you opt for fun patterns, seasonal themes, or classic styles, nail wrap allow for creative expression. Embrace the versatility that nail wraps offer and enjoy the process of pampering yourself.
Ultimately, investing in high-quality nail wraps can elevate your nail care routine while providing effortless style. As you explore the various options available, remember to have fun with the process. Nail wraps are not just about aesthetics; they offer an opportunity to express your creativity and personality. So go ahead, experiment with designs, and enjoy your journey into the world of nail wraps!