Physical Address
304 North Cardinal St.
Dorchester Center, MA 02124
Physical Address
304 North Cardinal St.
Dorchester Center, MA 02124
A polygel nail kit is a complete set of tools and products designed for creating stunning polygel nails right at home or in a salon. Polygel nails combine the benefits of gel and acrylic nails, offering a versatile and more beginner-friendly alternative for nail enhancement. Let’s dive deeper to understand polygel nails and how they differ from other nail enhancements.
Polygel nails are a hybrid nail enhancement product. Polygel itself is a combination of acrylic powder and clear gel, formulated to create durable, flexible, and natural-looking nails. Unlike traditional acrylics, polygel doesn’t require monomers and has no strong odor. It is softer than acrylics but stronger and more lightweight than standard gel nails.
The application process is straightforward. The polygel is applied using a dual form or shaped manually after squeezing it from a tube. A slip solution is used to smooth and mold the product over the nails. Once satisfied with the shape, the nails are cured under an LED or UV lamp.
Polygel nails differ significantly from acrylic and gel nails in terms of composition and application:
By understanding these differences, users can decide if a polygel nail kit suits their nail enhancement needs. This kit simplifies nail art while delivering professional-grade results.
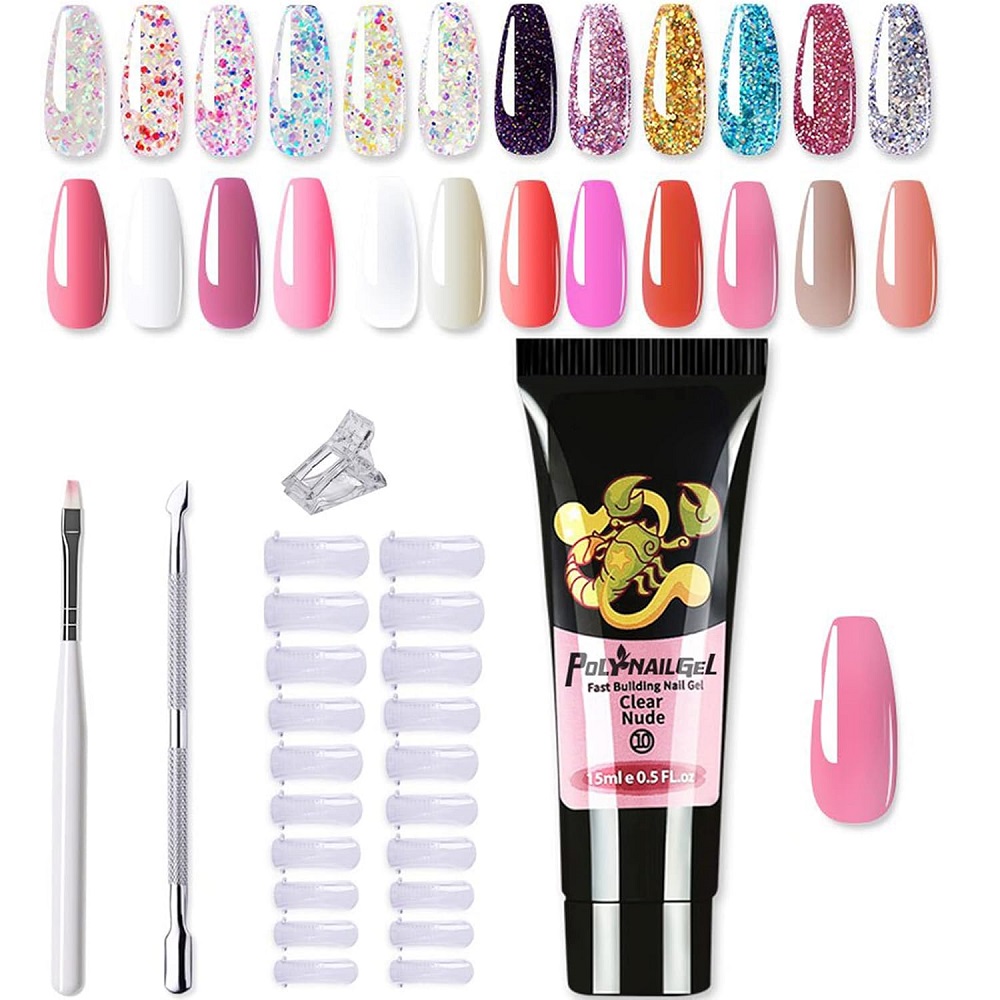
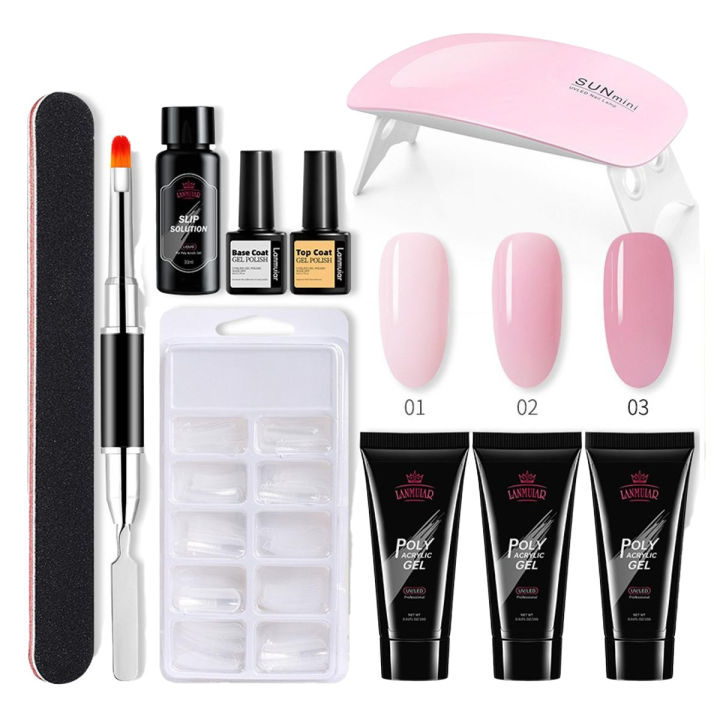
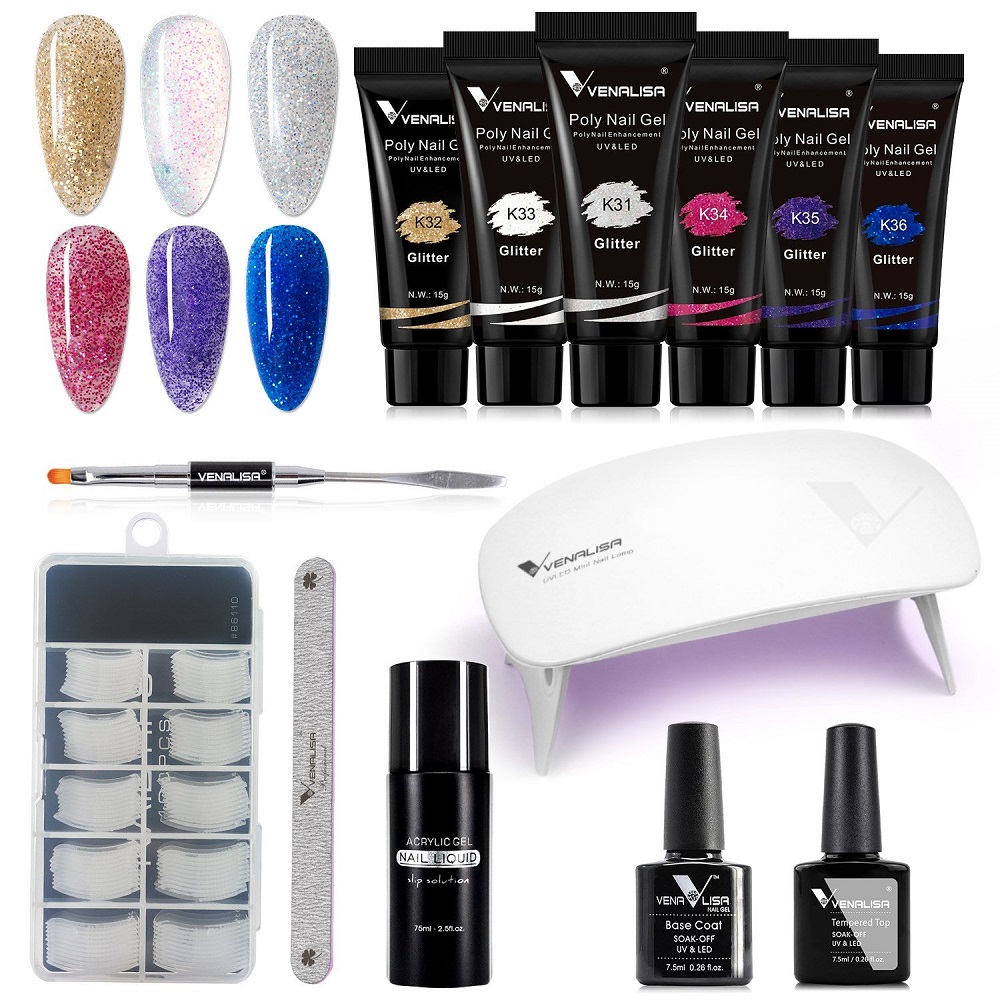
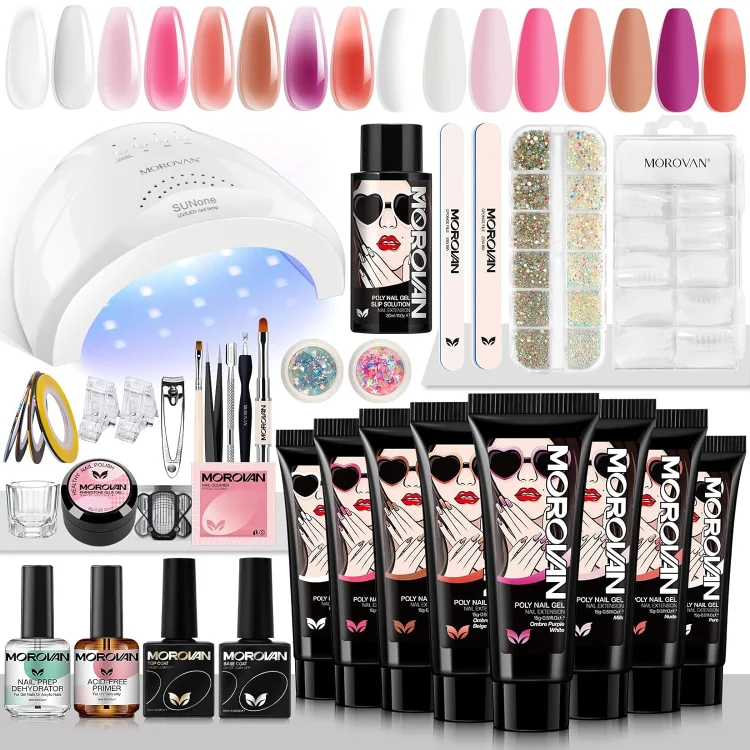
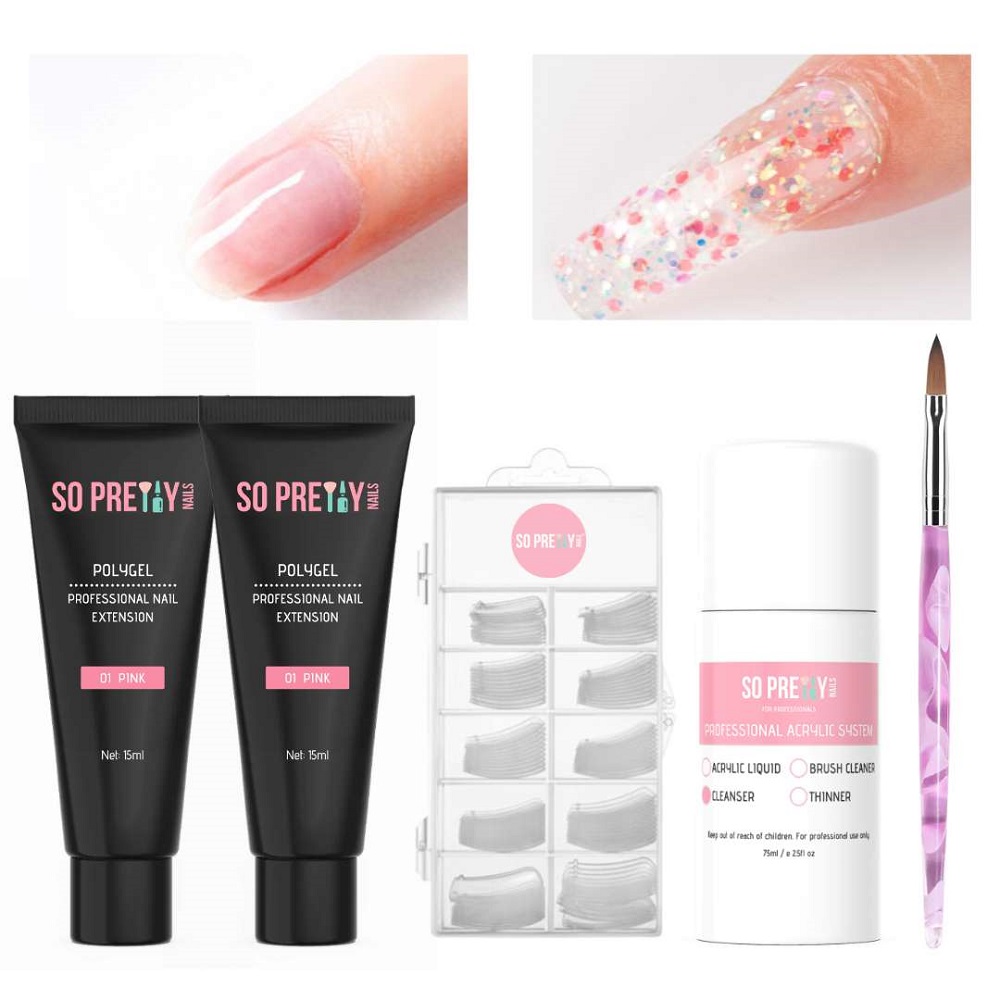
A polygel nail kit contains essential tools for creating flawless polygel nails. Each item has a specific purpose, ensuring the nail application process is smooth and efficient. Here’s an overview of the key components:
Polygel tubes hold the main product used for nail enhancements. The gel-like material is a hybrid of acrylic powder and gel. It is thick, flexible, and comes in various colors and finishes. You can choose neutral, bold, or glittery shades based on your style. The polygel’s consistency ensures easy application without the risk of dripping or running.
Slip solution is crucial for shaping polygel. It prevents the polygel from sticking to your nail tools. By dipping your brush into the slip solution, you can effortlessly smooth and mold the product. Unlike monomer used with acrylics, slip solution has no harsh smell, making it user-friendly. It also allows for precise shaping of the product before curing.
Dual forms are reusable templates that help shape the polygel nails. They create a uniform and polished look for beginners and experts alike. Nail brushes, on the other hand, are used to apply and mold the polygel onto the nails. High-quality brushes ensure smooth application and improve overall ease of use. A proper brush gives you full control over the product, helping achieve the desired shape and thickness.
An LED or UV lamp is essential for hardening the polygel. Once applied and shaped, the nails must be cured under the lamp. Curing solidifies the polygel, ensuring it is strong, durable, and long-lasting. LED lamps are faster and energy-efficient, while UV lamps are more affordable. Both options work well for beginners and professionals.
By understanding these key items, you can ensure a seamless nail enhancement experience.
Polygel nail kits offer remarkable benefits for nail enhancement. They combine convenience, durability, and aesthetic appeal. Whether you’re a beginner or a pro, these kits simplify nail art and deliver salon-quality results.
Polygel nails are extremely hardwearing. They resist chipping, cracking, and lifting better than acrylic and gel nails. When properly applied and cured, polygel nails can last up to 3-4 weeks without losing their shine or structure. This durability makes them a cost-effective option compared to frequent salon visits.
Polygel nails feel feather-light, ensuring comfort throughout wear. Unlike acrylic nails, which can feel heavy, polygel nails mimic the natural weight of your nails. Their flexibility also adds a more natural look, reducing the stiffness often seen in other nail enhancements.
Polygel nail kits cater to all skill levels, from beginners to seasoned users. The putty-like consistency of polygel makes shaping easy and precise. Its non-self-leveling nature means it stays where you place it until cured, reducing stress and mess during application. Professionals enjoy the ability to create intricate designs, while beginners love the simplicity and user-friendly tools included in most kits.
By leveraging these benefits, polygel nail kits offer a compelling solution for achieving flawless nails at home or in a salon.
Follow these steps to achieve flawless polygel nails. This guide simplifies the process for beginners and experts alike.
By following these steps, you can achieve salon-like nails using a polygel nail kit at home.
Achieving perfect polygel nails requires practice and attention to detail. These tips simplify and improve the process.
By utilizing these tips, you can enjoy flawless, long-lasting polygel nails with ease.
Polygel nail kits are popular for DIY nail enhancements. Below are answers to common questions to help you.
Polygel nails are known for their durability, typically lasting 3-4 weeks with proper care. Factors influencing their longevity include:
This extended wear makes polygel nails a cost-effective option compared to frequent salon visits.
Polygel nails are considered safe if applied and removed properly. Here’s why:
To maintain healthy nails, avoid rough filing and always use nourishing cuticle oil after removal.
By understanding these FAQs, you can use polygel nail kits confidently and enjoy their benefits fully.

Selecting the perfect polygel nail kit is crucial for achieving professional-quality nails. A well-chosen kit can simplify the application process and improve results. Knowing which features to prioritize and exploring reputable brands will help you make an informed decision.
By focusing on these features, you can find a polygel nail kit tailored to your needs.
These brands offer reliable options for both beginners and experts. Compare their features to find what suits you best.
Once you’ve mastered the basics of applying Polygel nail kit, you may want to explore advanced techniques like nail sculpting and extensions. Unlike traditional nail designs applied directly over natural nails, sculpting allows you to create custom shapes and lengths. This technique requires using forms, which you place underneath the nail bed. You then apply Polygel to the form, shaping it until you achieve the desired length and contour.
Sculpting uses the same careful techniques as standard applications, but it allows for a more personalized touch. Whether you prefer stilettos, almond shapes, or simple squares, sculpting lets you express your style perfectly. To ensure the best results, take your time and refine your skills through practice. As you grow more comfortable with this technique, consider adding intricate designs or patterns to make your sculpted nails truly stand out.
Once you’re comfortable with applying Polygel and perhaps even sculpting, it’s time to think about nail art creativity. With Polygel nails, the sky’s the limit when it comes to designs. Consider techniques like water marbling, adding glitter accents, or using a sponge for ombré effects. Each of these methods can enhance the overall appeal of your nails.
Experimenting with nail art can be incredibly rewarding. You can create themed designs for holidays, using subtle colors and shapes for a professional look or bold colors and patterns for a more playful appearance. Additionally, nail stamping kits can help you achieve intricate designs with less effort. As you explore these creative avenues, document your journey. Taking pictures of your designs allows you to track your progress and share your artistry with friends and fellow nail enthusiasts. Most importantly, have fun discovering your unique nail art style!